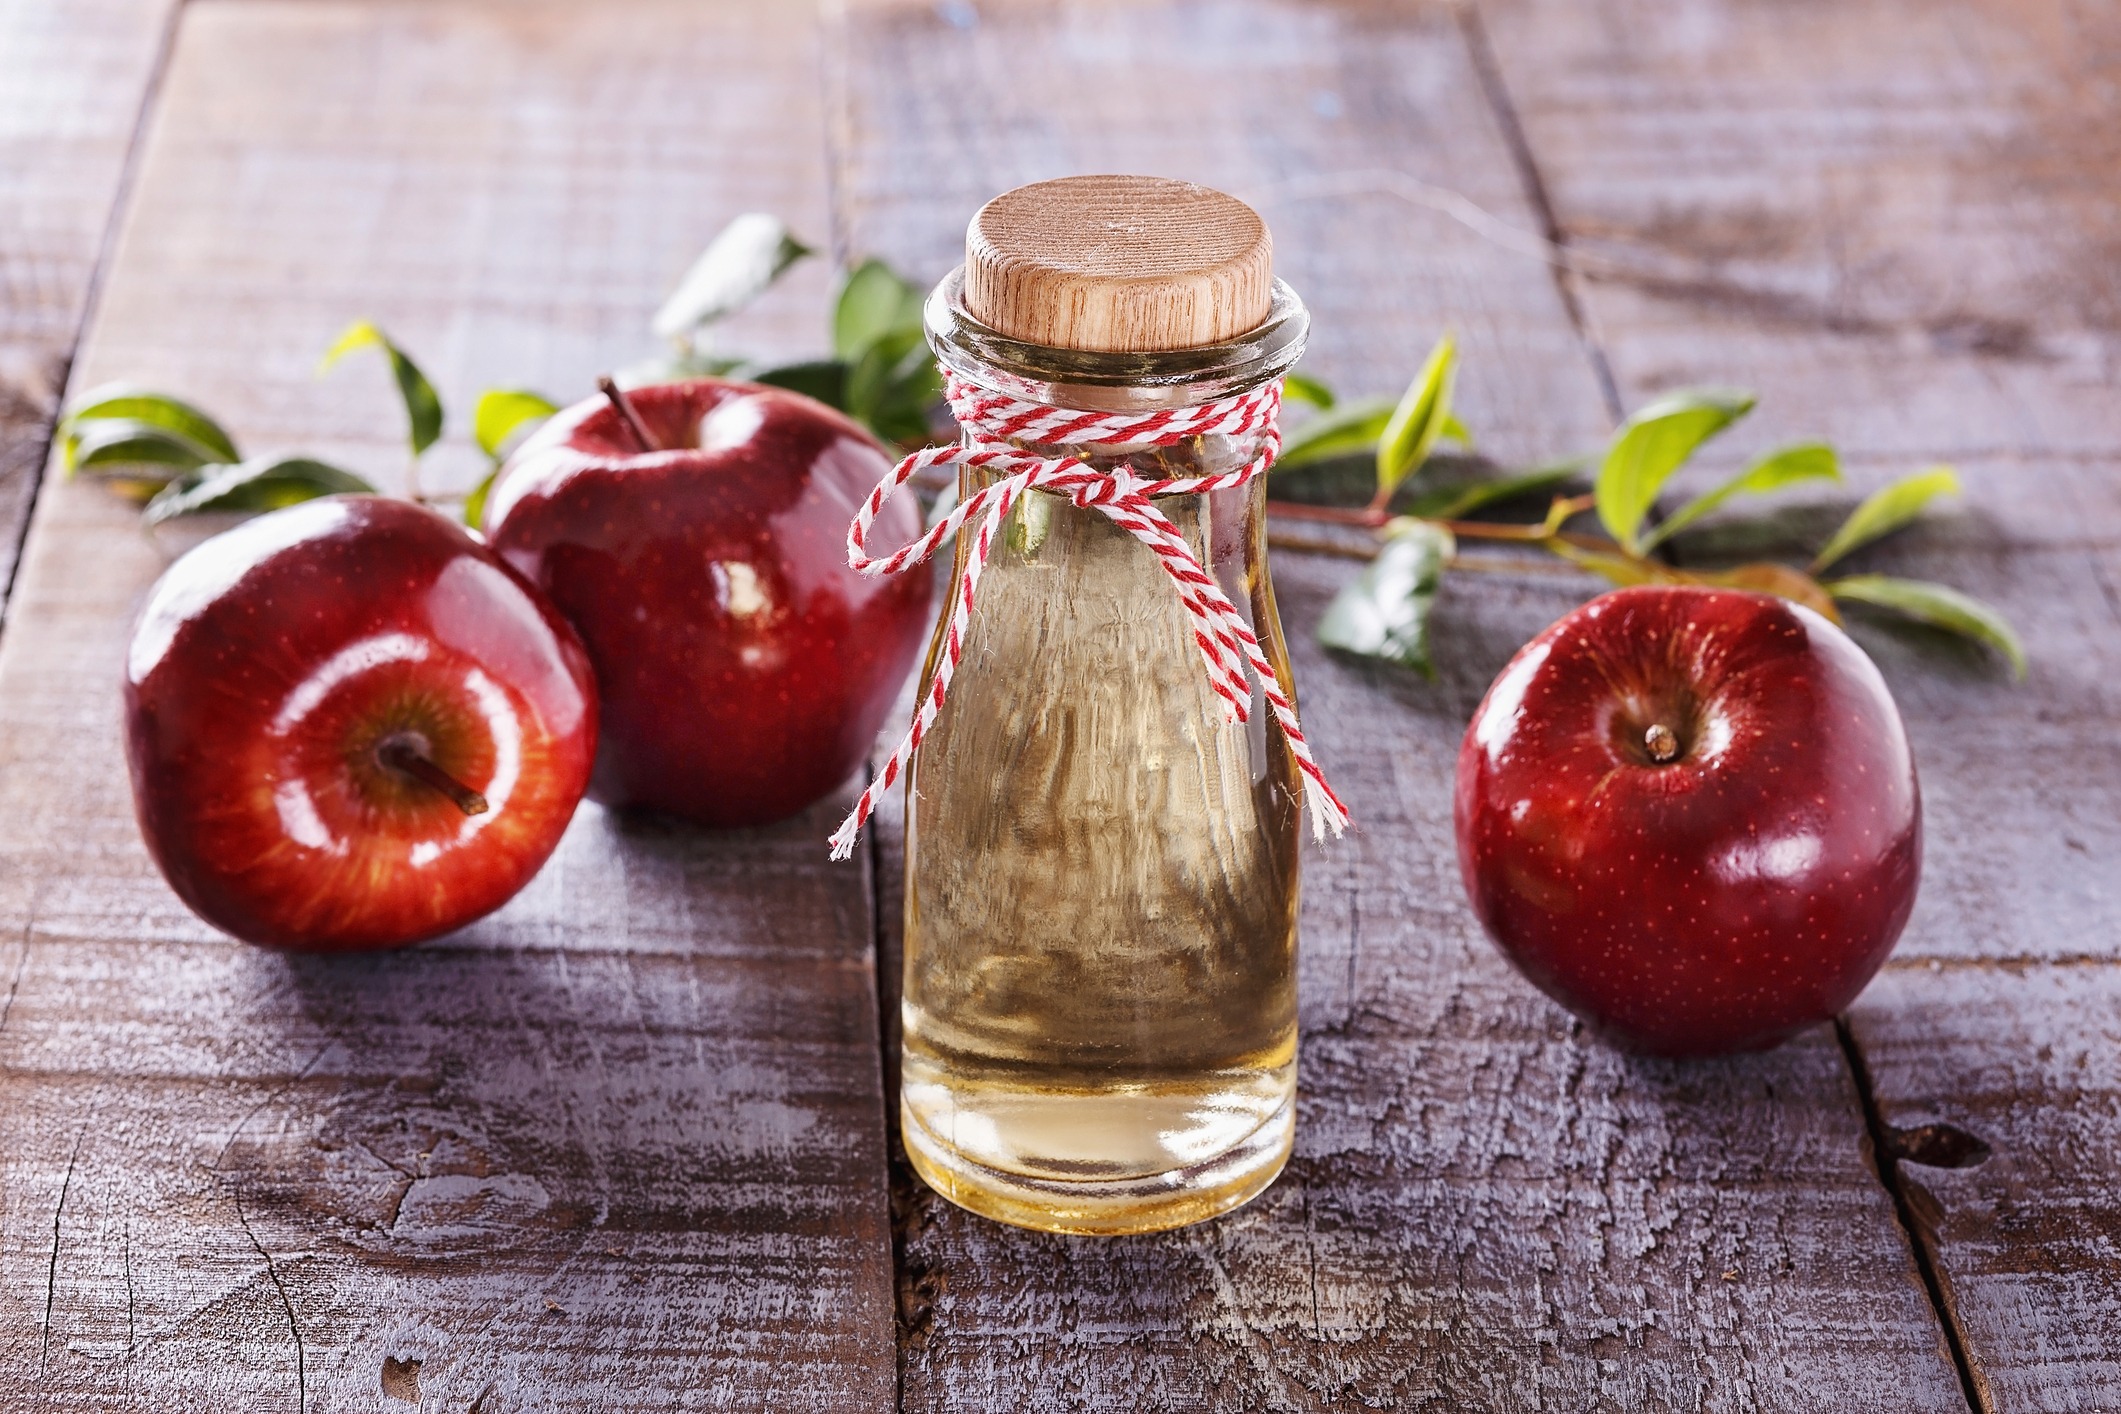
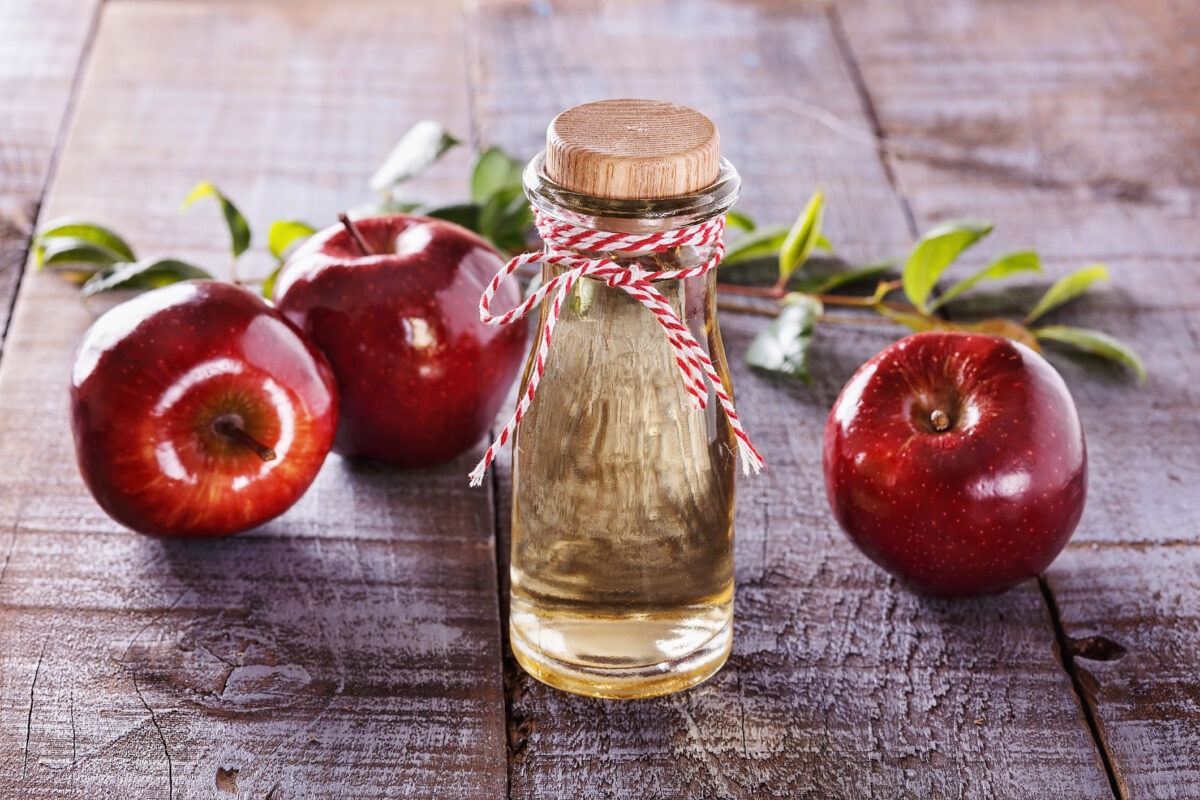
A beloved staple in the world of home kitchens, Homemade Apple Cider Vinegar takes the spotlight as a go-to for health-conscious home cooks. Its popularity extends beyond mere culinary applications, as it’s hailed for potential health perks like aiding in weight loss, regulating blood sugar levels, and alleviating symptoms associated with diabetes. Crafting this kitchen essential involves a simple alchemy—fermenting raw sugar or mucavado and the natural sugars found in apples, transforming them into the tangy elixir known as apple cider vinegar.
There’s something incredibly satisfying about making your own pantry staples from scratch, and homemade apple cider vinegar is no exception. With just a few simple ingredients and a bit of patience, you can create a flavorful vinegar that’s perfect for cooking, salad dressings, cleaning, and so much more.
Making your own apple cider vinegar allows you to control the quality of ingredients and tailor the flavor to your preferences. Plus, it’s a fantastic way to reduce food waste by using up leftover apple scraps, like cores and peels, that might otherwise end up in the compost bin.
The process of making homemade apple cider vinegar is surprisingly simple. All you need are apple scraps, water, and a bit of sugar to kickstart the fermentation process. Combine everything in a clean glass jar, cover it with a breathable cloth or paper towel, and let nature do its work.
Over time, the natural sugars in the apples will ferment, transforming into tangy, flavorful vinegar. It’s a fascinating process to watch as the liquid gradually changes color and develops that characteristic vinegar tang.
Once your vinegar has reached the desired level of acidity, strain out the solids and transfer the liquid to a clean bottle for storage. Homemade apple cider vinegar will keep indefinitely when stored in a cool, dark place, making it a pantry staple you’ll always want to have on hand.
So, whether you’re a seasoned DIY enthusiast or just looking to add a homemade touch to your kitchen, give this Homemade Apple Cider Vinegar recipe a try. With its rich flavor and endless versatility, it’s sure to become a favorite in your culinary arsenal.
Check out these other tasty Apple Cider Vinegar recipes to incorporate more ACV into your diet.
PrintHomemade Apple Cider Vinegar

The most popular vinegar in the natural health community is Homemade Apple Cider Vinegar. This includes weight loss, lower blood sugar levels and improved symptoms of diabetes.
- Prep Time: :05
- Total Time: 0 hours
- Category: Condiment
- Method: Fermented
- Cuisine: Global
Ingredients
- 3 small apples (core and peel included, no stem)
- 3 tsp raw sugar or muscavado
- filtered water to cover
Instructions
- Wash and chop your apples into medium sized pieces (or use the peels and cores of 6-7 small apples after making a pie). Place them in a clean, rinsed and sterilized wide mouth jar.
- Mix the sugar with 1 cup of water and pour on top of the apples.
- Add more water if needed to cover the apples.
- Cover the jar with a paper towel or a cheesecloth and secure it with a band. This keeps nasties away while letting the liquid breathe.
- Place the jar in a warm, dark place for 2-3 weeks – I just kept it in my pantry.
- Strain out the liquid and discard the apple pieces.
- Return the liquid to the same jar and cover it again (same paper or cheesecloth).
- Return the jar to the same warm, dark place and leave it do its thing for roughly 4 to 6 weeks, stirring with a plastic or wooden spoon every few days or so.
- After the first 4 weeks, you can begin to also taste your vinegar and once it reaches an acidity you like, you can actually transfer it to a bottle with a lid and begin using it.